Authentication is the process of proving a user’s identity before granting them access to a resource. In this quickstart, you’ll learn how to bring Universal Login to your AI agent and leverage OAuth 2.0 and OpenID Connect to securely authenticate users. When a user authenticates with an identity provider through Auth0, Auth0 can pass user information in an ID token to an application or AI agent to deliver a personalized experience. For example, a chatbot can greet a user with their name and display relevant information based on the user’s profile.

What you’ll learn

  • Obtain tokens: Authenticate users and retrieve ID and access tokens from Auth0.
  • Call protected APIs: Use those tokens to call secured endpoints (e.g. user profile or custom APIs).
  • Display user data: Pass the returned information into your AI agent or app to personalize the experience.
Before getting started, make sure you have completed the following steps:
1

Create an Auth0 Account

To continue with this quickstart, you need to have an Auth0 account.
2

Create an Auth0 Application

Go to your Auth0 Dashboard to create a new Auth0 Application.
  • Navigate to Applications > Applications in the left sidebar.
  • Click the Create Application button in the top right.
  • In the pop-up select Regular Web Applications and click Create.
  • Once the Application is created, switch to the Settings tab.
  • Scroll down to the Application URIs section.
  • Set Allowed Callback URLs as: http://localhost:3000/auth/callback
  • Set Allowed Logout URLs as: http://localhost:3000
  • Click Save in the bottom right to save your changes.
3

OpenAI Platform

  • https://mintlify.s3.us-west-1.amazonaws.com/auth0-genai-feat-add-diagrams-modal-with-steps/img/nextjs-light.svg Next.js
  • https://mintlify.s3.us-west-1.amazonaws.com/auth0-genai-feat-add-diagrams-modal-with-steps/img/fastapi-light.svg FastAPI

Getting started using AI

To get started quickly:
Then, integrate Auth0 AI docs into your preferred AI tool:

  • VS Code
  • Cursor
  • Claude Code
  • Claude
Create a .vscode/mcp.json file and add:
{
  "servers": {
    "Auth0 for AI Agents": {
      "type": "http",
      "url": "https://auth0.com/ai/docs/mcp"
    }
  }
}
To learn more, read the VS Code documentation.

or Follow manual steps

1

Install Auth0 Next.js SDK

Install Auth0 Next.js SDKIn the root directory of your project, install the Auth0 Next.js SDK:
  npm i @auth0/nextjs-auth0@4
2

Add log in to your application

Secure your application using the Auth0 Next.js SDK.

Create your environment file

In the root directory of your project, create or add the following content to your .env.local file:
.env.local
APP_BASE_URL='http://localhost:3000'
AUTH0_SECRET='random 32 byte value'
AUTH0_DOMAIN='<your-auth0-domain>'
AUTH0_CLIENT_ID='<your-auth0-application-client-id>'
AUTH0_CLIENT_SECRET='<your-auth0-application-client-secret>'
Access your AUTH0_DOMAIN, AUTH0_CLIENT_ID, and AUTH0_CLIENT_SECRET by viewing the Auth0 Application that you created in the Auth0 Dashboard and navigating to the Basic Information section at the top of the Settings tab. Copy each value to the matching setting.Next, run this command to generate a random 32 byte value and copy it to the AUTH0_SECRET field.
generate random 32 byte value
openssl rand -hex 32

Create the Auth0 client

Create a new file in the src/lib directory and name it auth0.ts. Add the following code to create a new Auth0 client:
src/lib/auth0.ts
import { Auth0Client } from "@auth0/nextjs-auth0/server";

// Create an Auth0 Client.
export const auth0 = new Auth0Client();
The Auth0 client provides methods for handling authentication, sessions, and user data.

Add the authentication middleware

The middleware intercepts incoming requests and applies Auth0’s authentication logic. Create a new file in the src directory and name it middleware.ts or update your existing middleware file. Add the following code to the file:
src/middleware.ts
import { NextRequest, NextResponse } from "next/server";
import { auth0 } from "./lib/auth0";

export async function middleware(request: NextRequest) {
  const authRes = await auth0.middleware(request);

  // Authentication routes — let the Auth0 middleware handle it.
  if (request.nextUrl.pathname.startsWith("/auth")) {
    return authRes;
  }

  const { origin } = new URL(request.url);
  const session = await auth0.getSession(request);

  // User does not have a session — redirect to login.
  if (!session) {
    return NextResponse.redirect(`${origin}/auth/login`);
  }
  return authRes;
}

export const config = {
  matcher: [
    /*
     * Match all request paths except for the ones starting with:
     * - _next/static (static files)
     * - _next/image, images (image optimization files)
     * - favicon.ico, sitemap.xml, robots.txt (metadata files)
     * - $ (root)
     */
    "/((?!_next/static|_next/image|images|favicon.[ico|png]|sitemap.xml|robots.txt|$).*)",
  ],
};

Add Log in and Sign up buttons

Use the following code example to check if the user is signed in or not: It will display the Sign up or Log in buttons without a user session. If a user session exists, the app displays a welcome message with the user’s name.
src/app/page.tsx
//...
import { auth0 } from "@/lib/auth0";

export default async function Home() {
  const session = await auth0.getSession();

  if (!session) {
    return (
      <div className="flex flex-col items-center justify-center min-h-[50vh] my-auto gap-4">
        <h2 className="text-xl">You are not logged in</h2>
        <div className="flex gap-4">
          <Button asChild variant="default" size="default">
            <a href="/auth/login" className="flex items-center gap-2">
              <LogIn />
              <span>Login</span>
            </a>
          </Button>
          <Button asChild variant="default" size="default">
            <a href="/auth/login?screen_hint=signup">
              <UserPlus />
              <span>Sign up</span>
            </a>
          </Button>
        </div>
      </div>
    );
  }

  //... existing code

  // applicable only if you are using the starter template
  return (
    <ChatWindow
      endpoint="api/chat"
      emoji="🤖"
      placeholder={`Hello ${session?.user?.name}, I'm your personal assistant. How can I help you today?`}
      emptyStateComponent={InfoCard}
    />
  );
}
3

Run your application

Start your app, typically with this command:
npm run dev
Visit your app in the browser, typically at http://localhost:3000.You will see:
Auth0 login screen
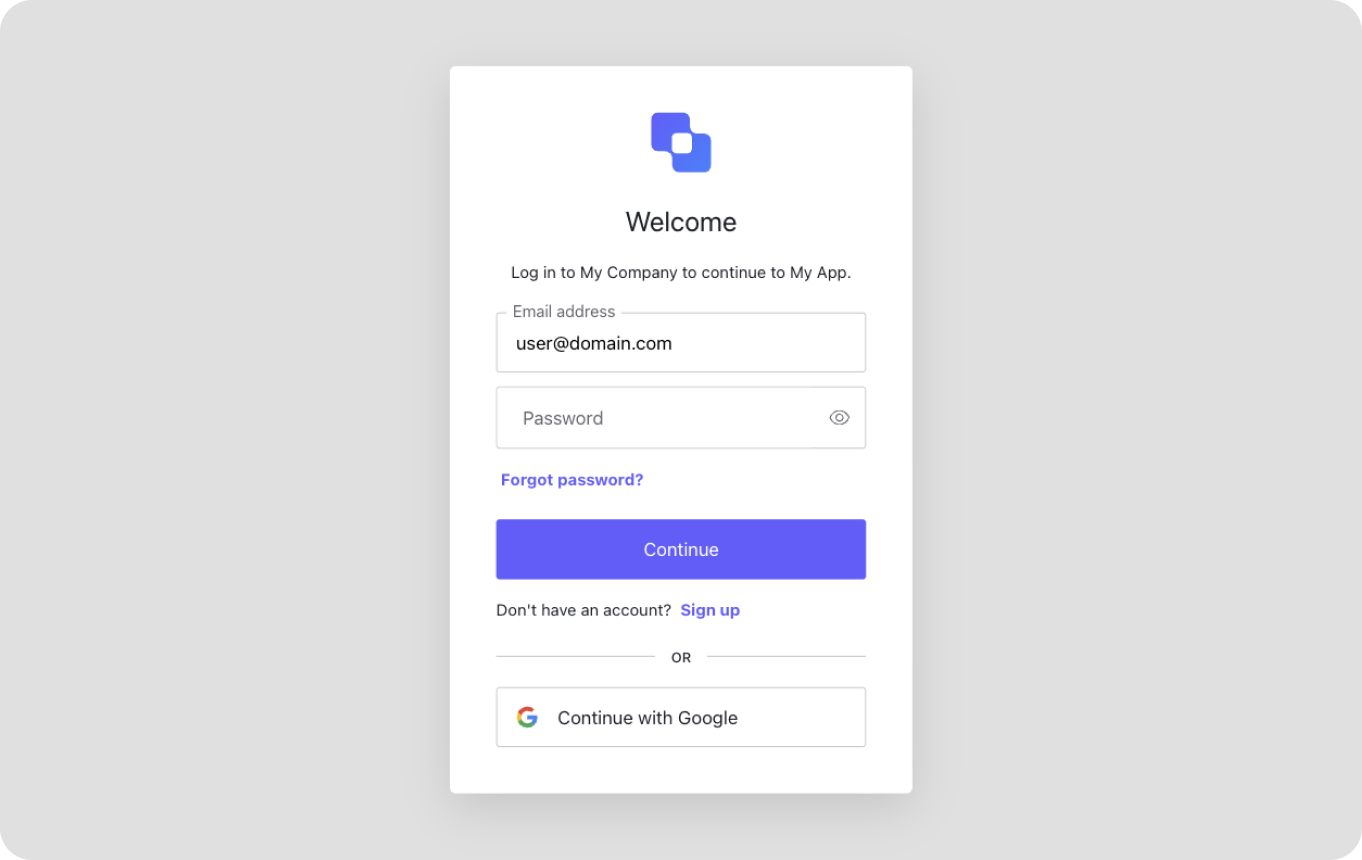
Sign up to your application to create a new user account. You will then see a welcome message with your user name. You can sign in with that account on future visits.